Thornhill Patch - class.
- Allison, MeadowRoseQuilts

- Sep 8, 2016
- 3 min read
I'm working on a couple of class samples for a new class I'm teaching at Meadow Rose Quilting Studio (AKA, my basement). The pattern is a simple Disappearing 9 Patch block with 3 borders.
The first sample quilt (of 3 options, we may have 4 options) is a simple 2 fabric quilt. A focus and a contrast. In this case a Maple Leaf print in navy/red and a solid white.

Although there are other methods of stitching the basic 9 Patch block, all options for this class will use the same construction method.
The purpose of the class is to focus on piecing techniques and accurate measuring, cutting and sewing of the borders. As a longarm custom quilter, I (almost) cry every time someone brings me a quilt where they have spent many, many hours and lots of $$$$$$ on a beautiful project, but the borders are doing a wave!!!! I'll show students how to accurately measure and how and why to cut and stitch the borders for a perfectly, AND I MEAN A PERFECTLY FLAT and square quilt.

Backing up a bit. We'll start with learning, or re-learning in some cases, how to use the rotary cutting tools. It is surprising how many quilters have never learned how to cut fabric accurately. I think there are just as many who have become lazy and are doing themselves a disservice by not cutting properly. There are many videos on the internet that show poor cutting techniques. I am surprised that these quilts go together at all!
We'll look closely at how to get an accurate 1/4" seam allowance. Why some sewing machine feet work and why some feet don't work. I'll show you how to "cheat" your machine and make adjustments to it to help with accuracy.

Once we've covered cutting and stitching, we move to the iron and review (learn) how to use an iron correctly for quilting. We've all developed short cuts and sometimes they work, and some times they don't. I'll cover reasons for both.
I'm not the kind of instructor who says "I'm the expert". I believe that my job is to meet you at your skill level and teach you and encourage you to go further. When I have an experienced quilter in my class with those less experienced, I want to encourage that student and give her more information. Sometimes it's a more detailed reason or explanation about how and why we do things. Sometimes it's extra tips and tricks for faster, more efficient sewing.
Borders can really make or break a quilt. In the 2nd class we'll discuss the right and not-so-right ways to put borders on a quilt. Students will be taught how to correctly measure, cut and sew each border. These are simple steps, but they make such a big difference to a quilt.
Once the borders are on, Students will be able to rent the longarm in the studio (at a reduced rate) to quilt their quilts. I'll be on hand to help them load the quilt. There are paper pantographs available for use and threads are always included in any machine longarm rental.
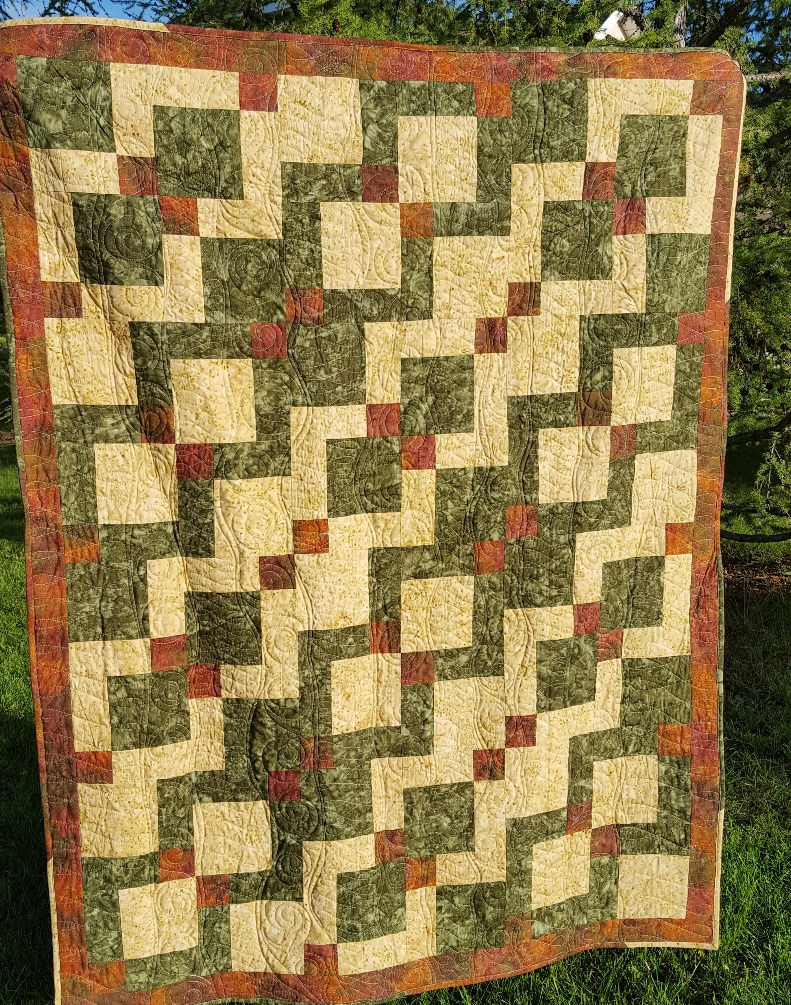
Other fabric options are 3-4 fabrics (see the brown sample above), Fat Quarters with a focus fabric (see the pink and blue sample) and a Layer Cake option. I'm having someone check my pattern instructions to see how they work. She's working on the Layer Cake option as I write.
I've set dates for the class, Thursday evenings 6:30-9:30 on October 13 and 27. Contact me to register. 403-819-8126.


Comments